Film School Project: Lighting Styles
Lighting Styles
The current class I am taking is Location Lighting and it has been so much fun playing around with different lighting.
In my second week we were tasked with learning and producing 4 different lighting styles to emulate.
Beauty
Comedy
Drama
Suspense
We learned that there are specific characteristics in the way you light a scene depending on the genre of film.
These photos are the shots I turned in for the assignment. I had so much fun with this project and I really wanted to do something unique and go all out with each photo.
Beauty Lighting
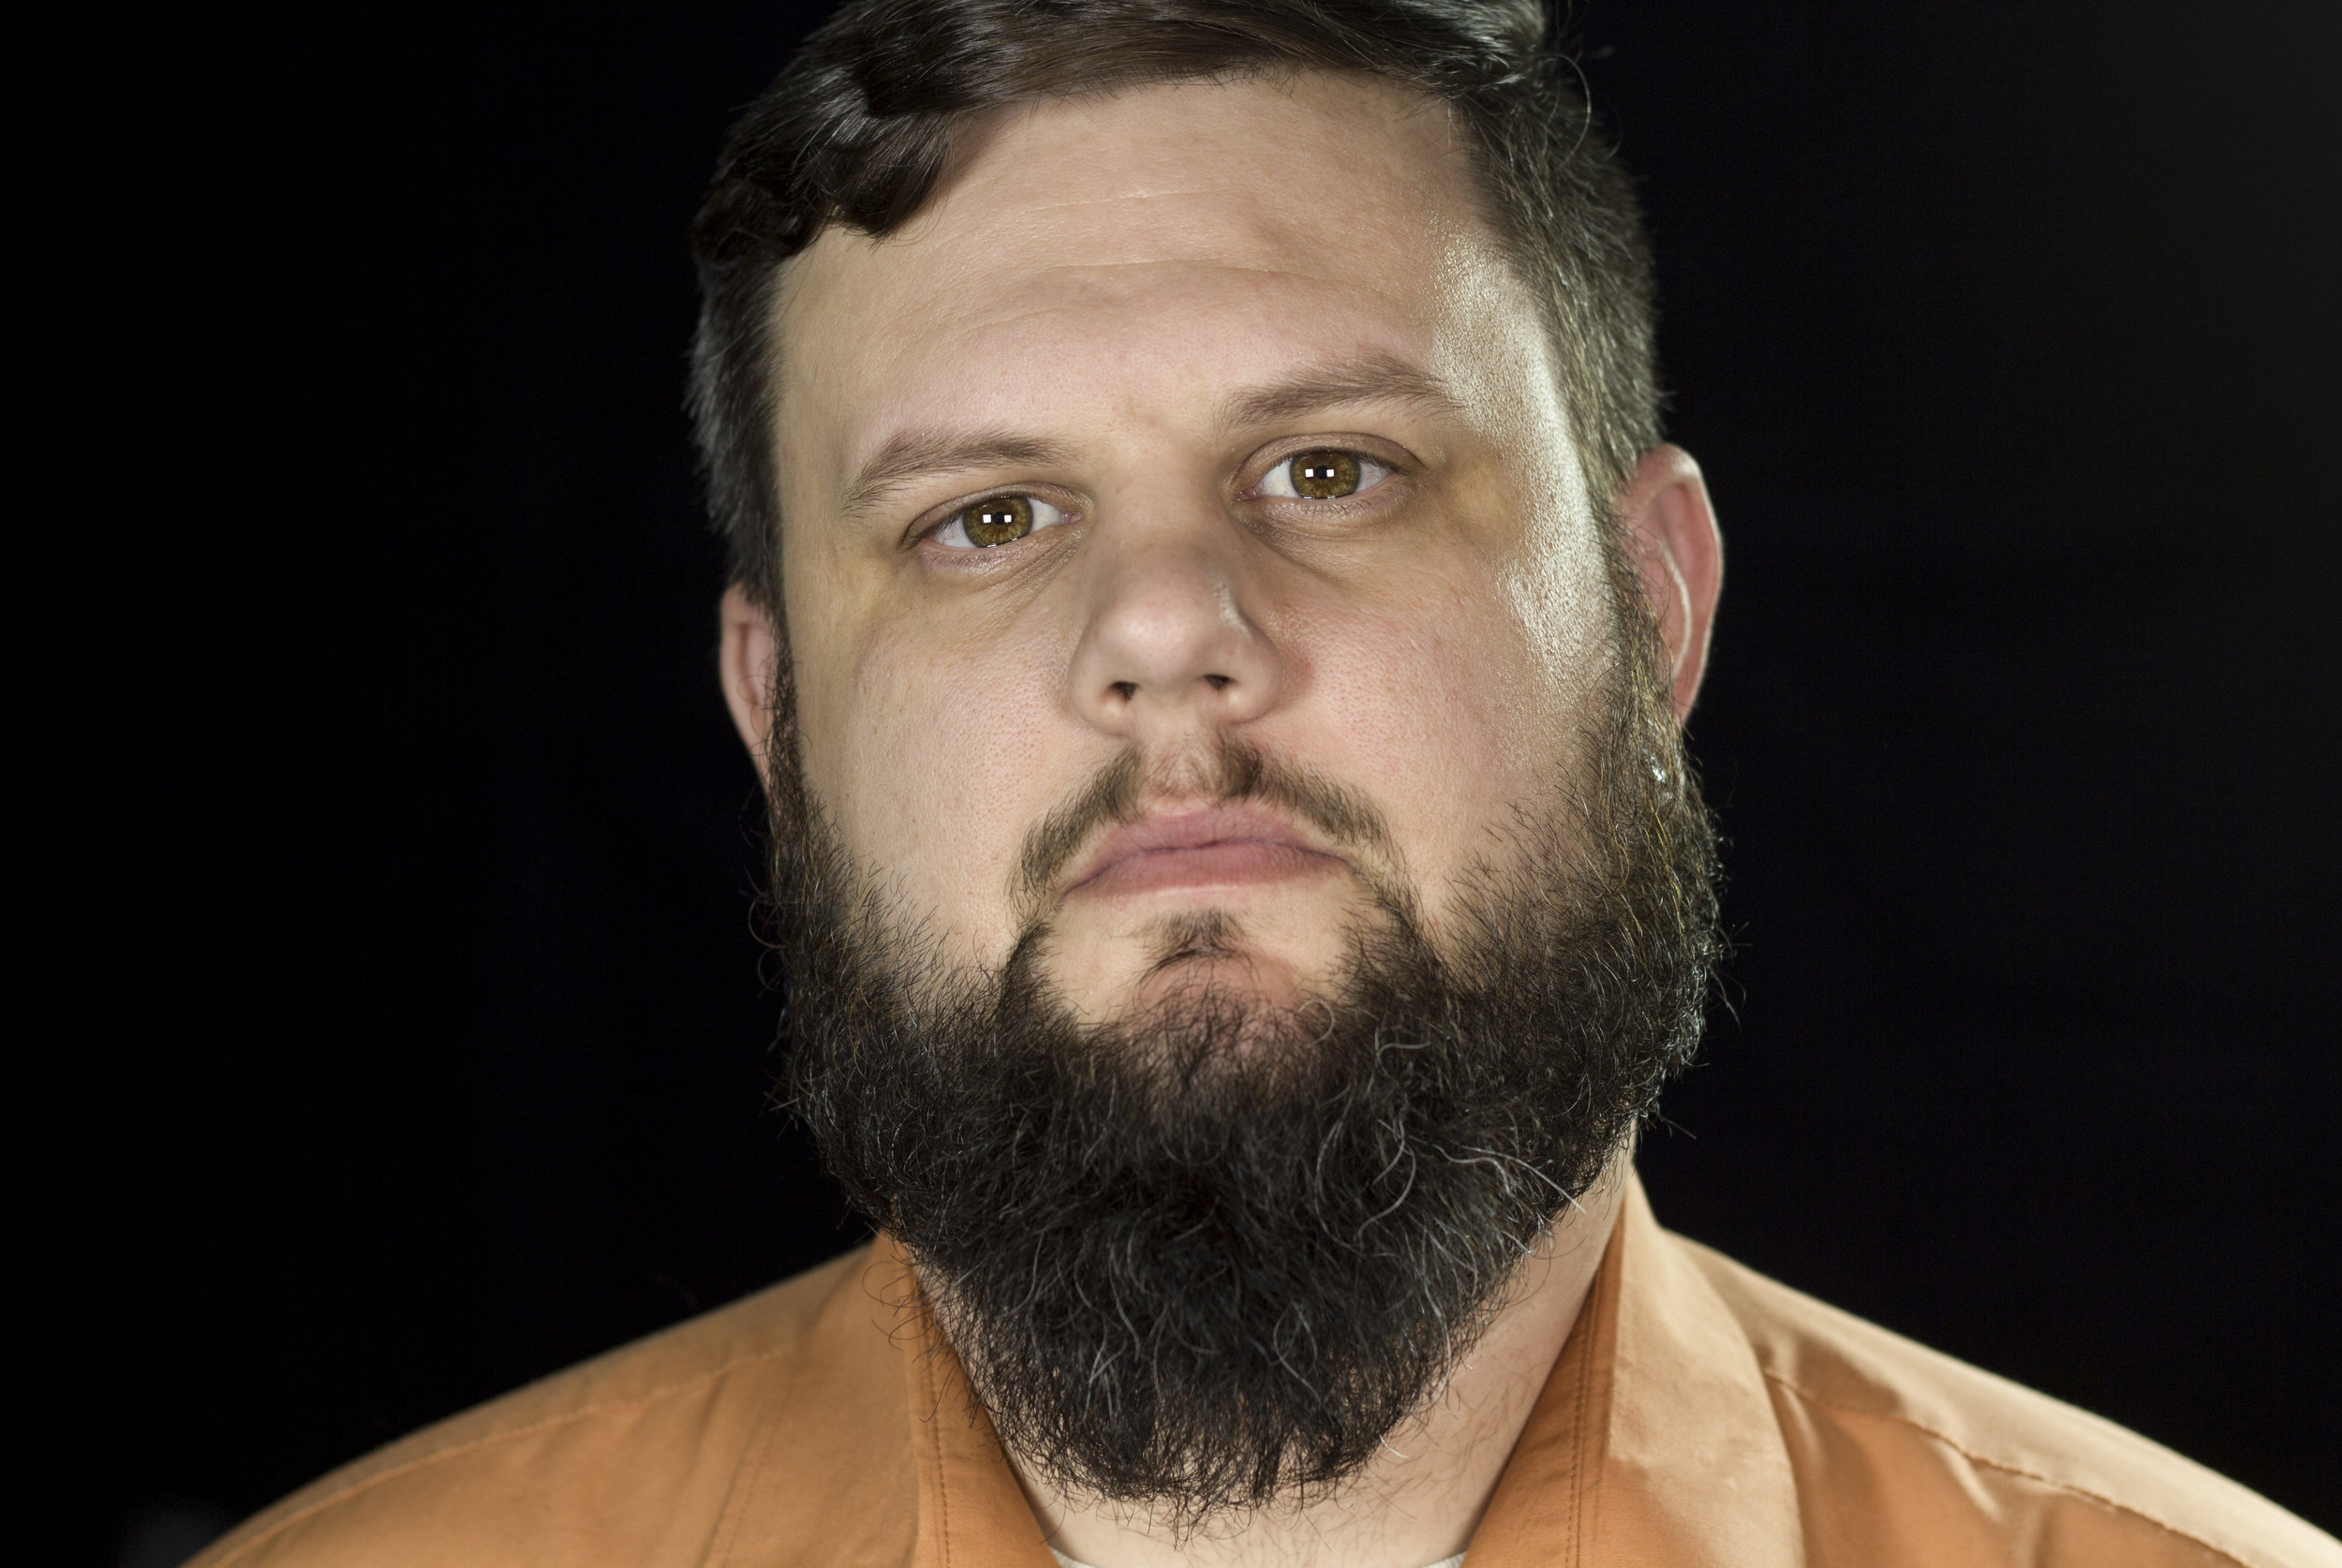
In beauty lighting it is typical for the face to be evenly lit and will have a back light and/or edge light to create a glowing halo around the back of them.
This is a shot of my co-worker using three 1x1 LED lights and taken on a Canon T3i with the basic Canon 50mm F/1.8
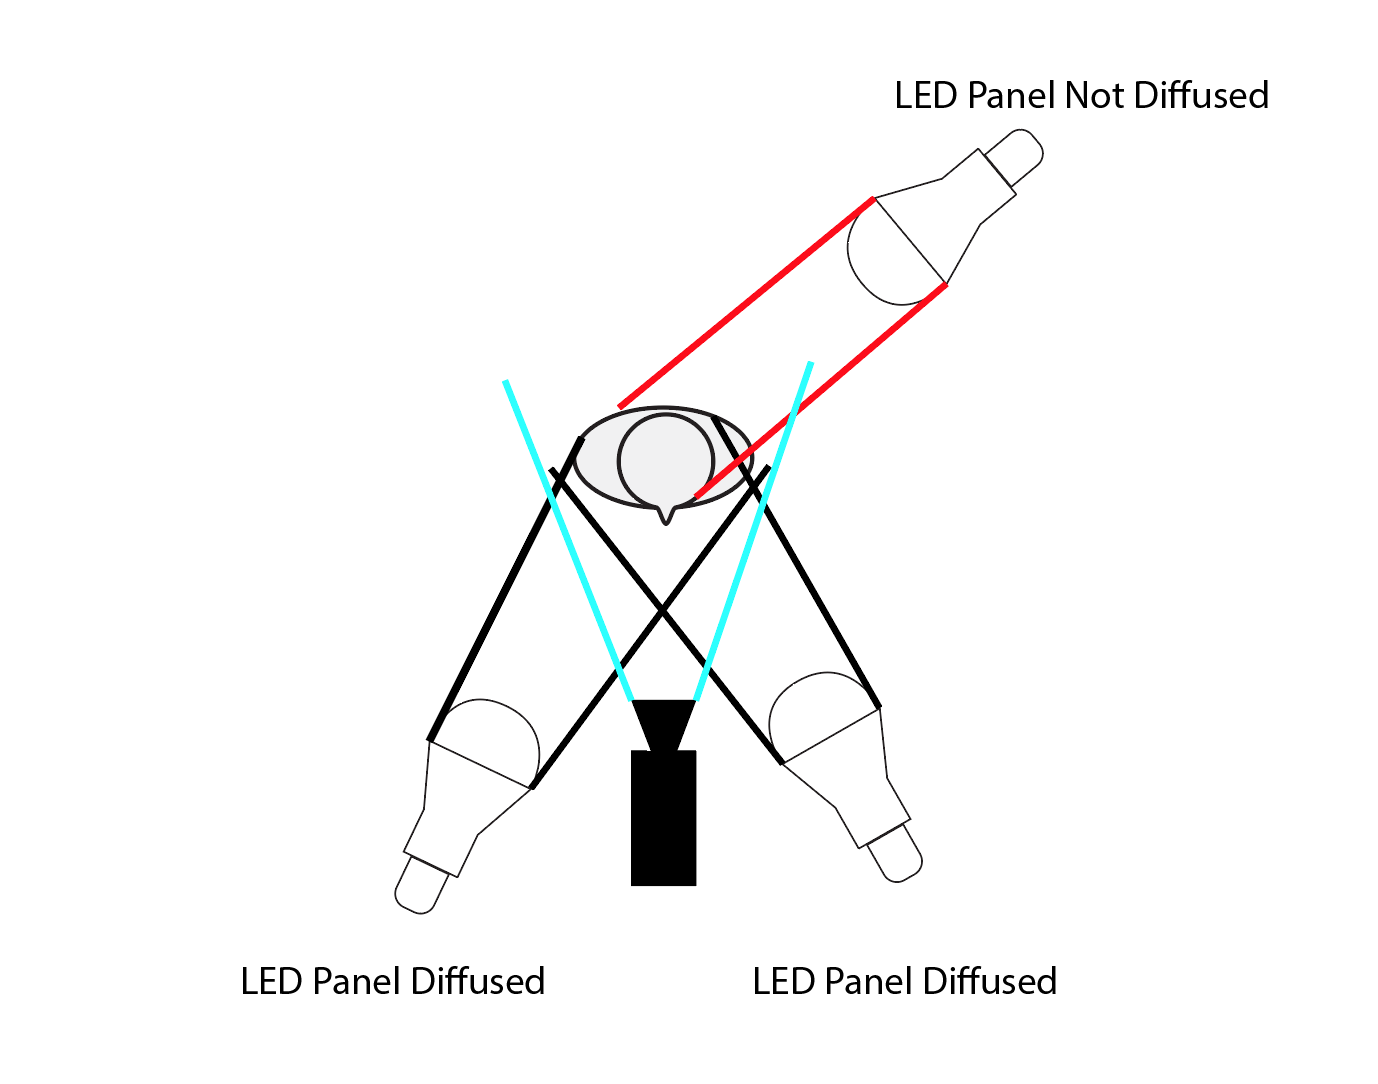
Below you will find the overview lighting plot of how I shot this.
Beauty Lighting Plot
Comedy Lighting
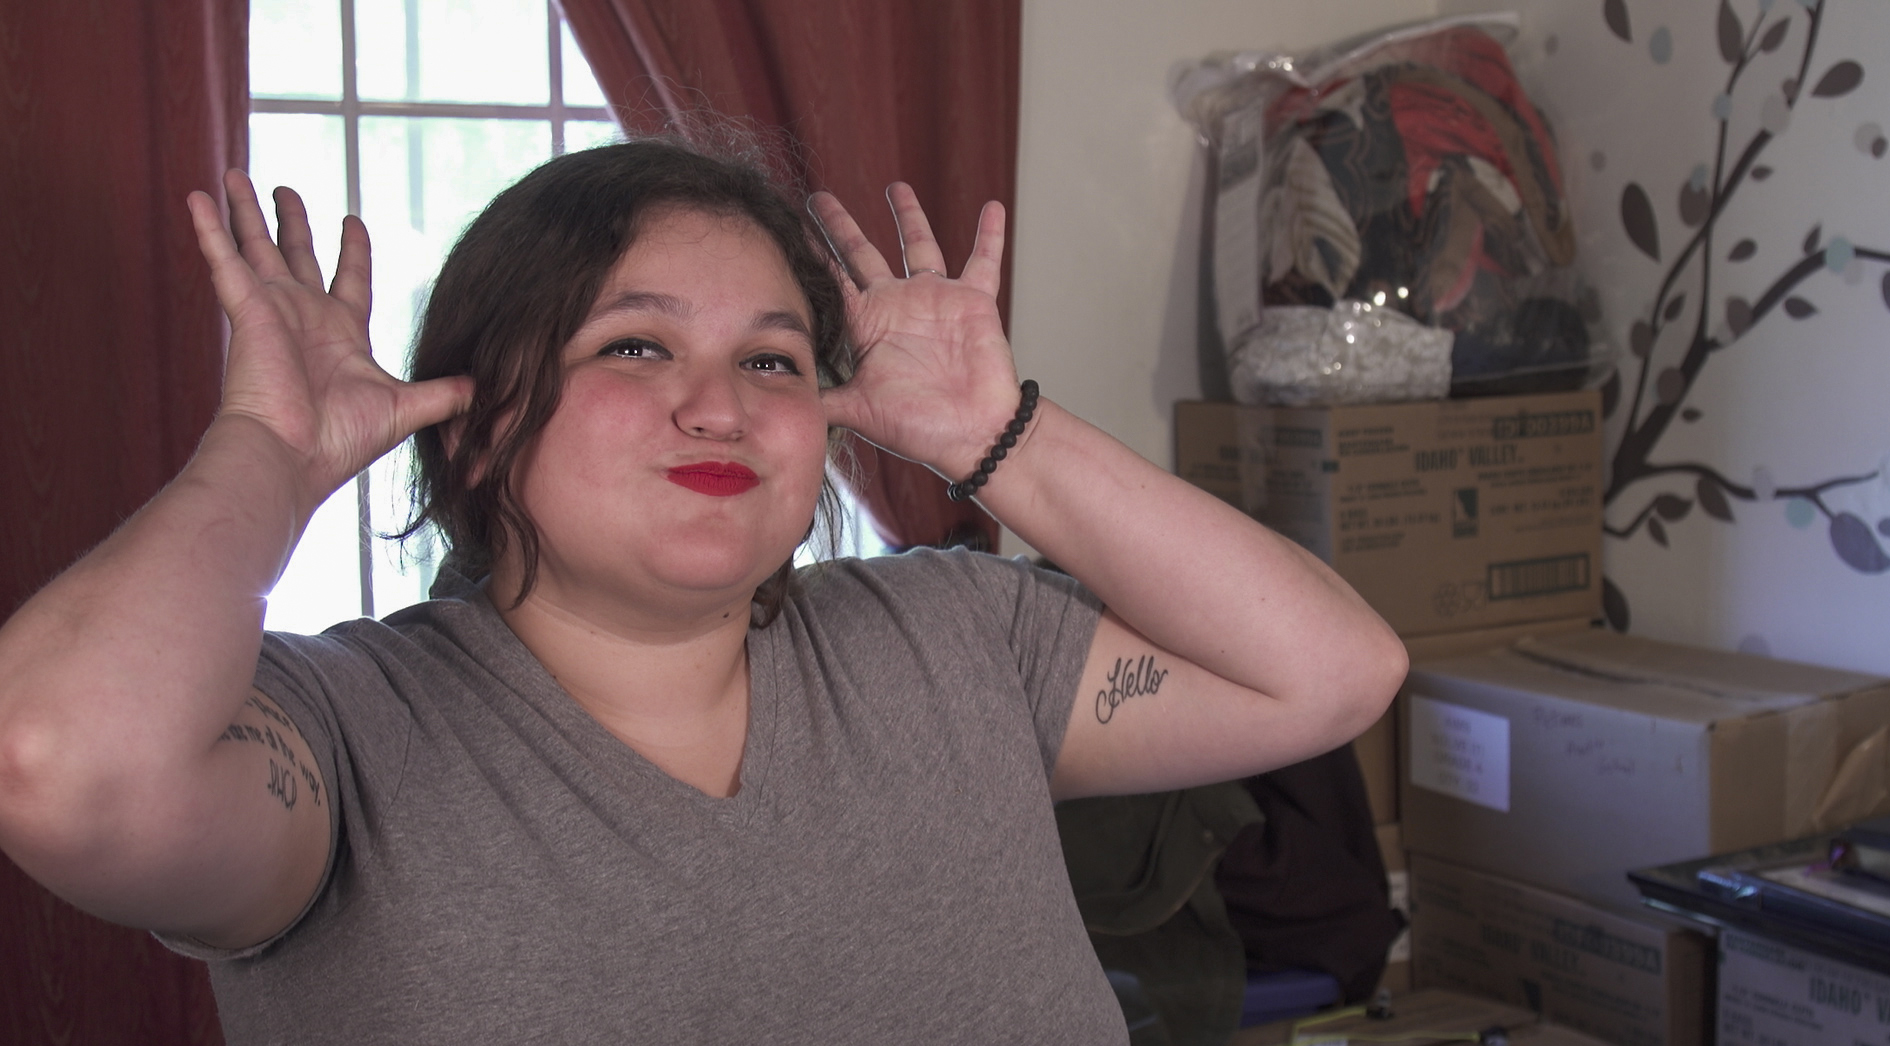
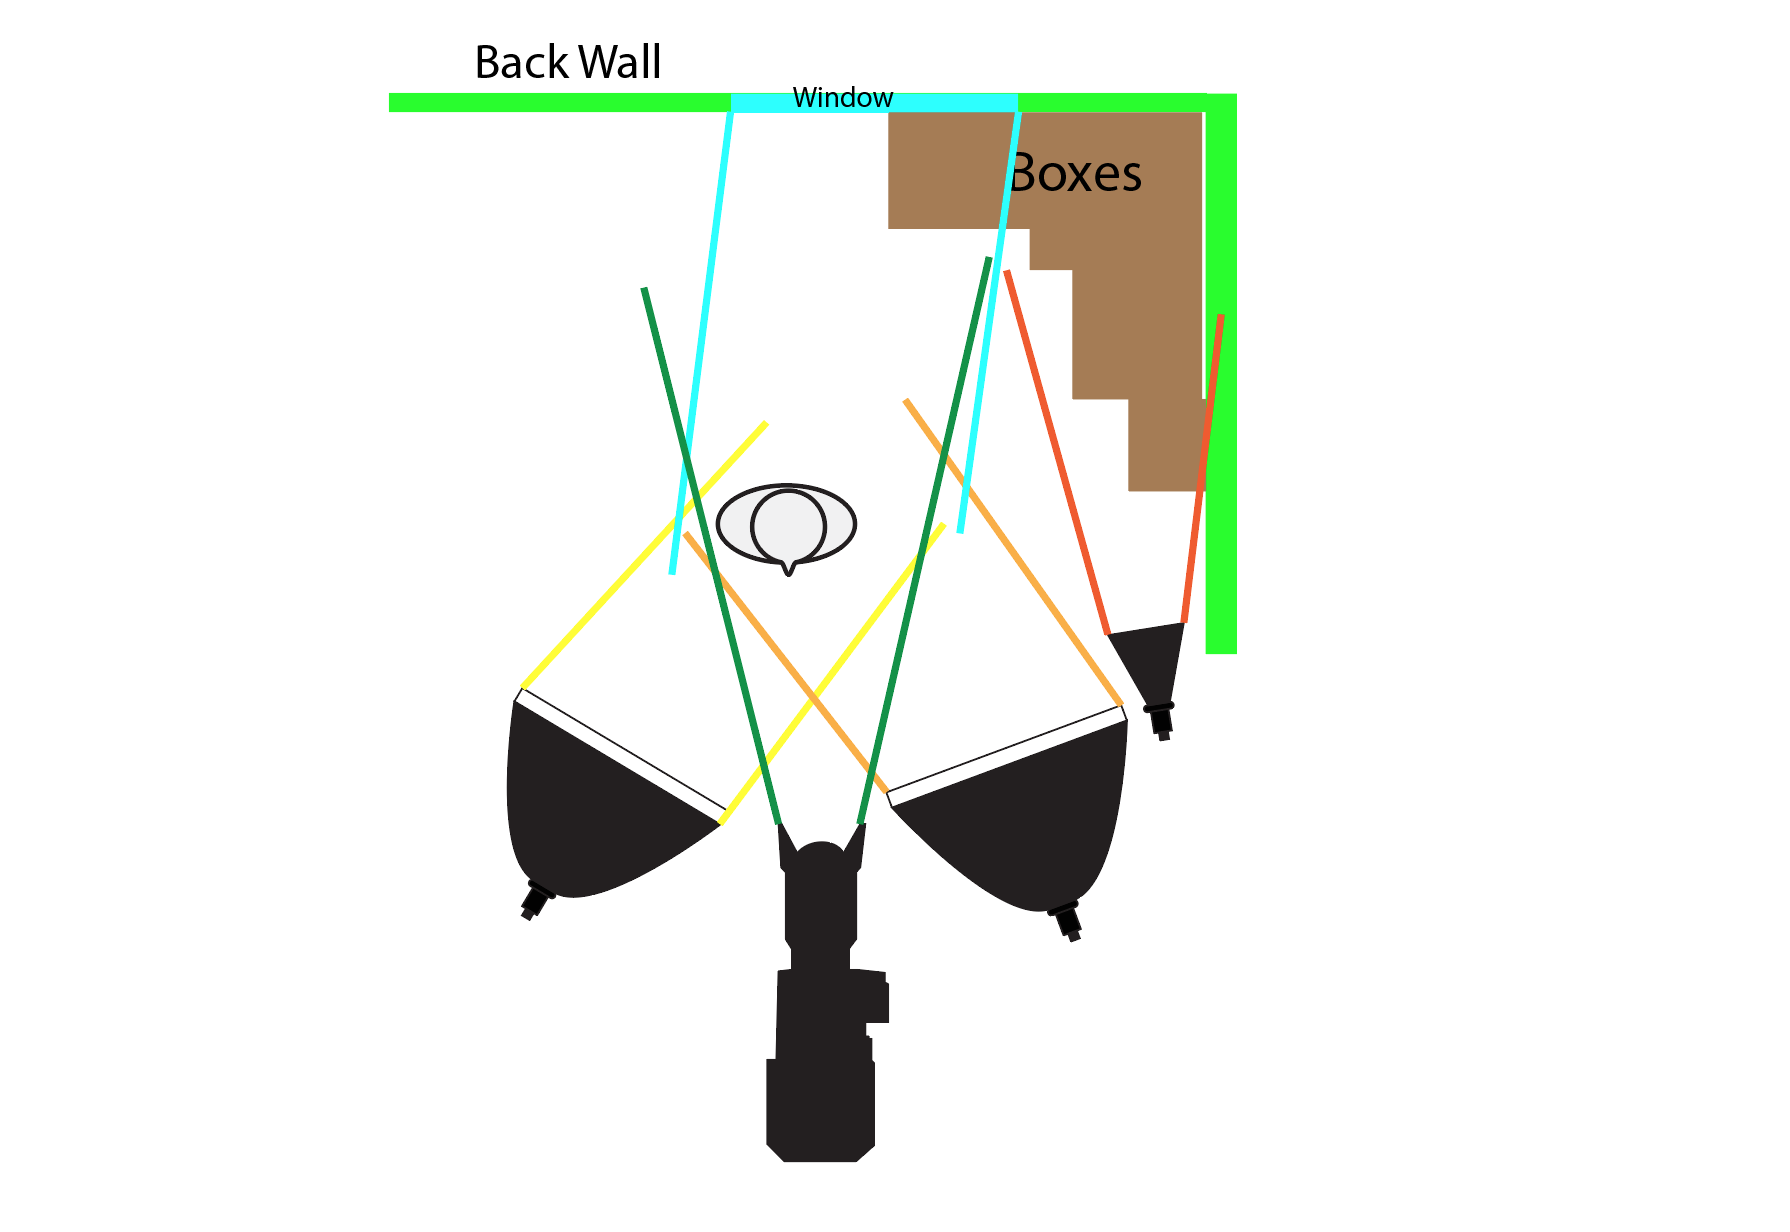
In a comedy lighting style the goal is to have everything in the scene evenly lit, similarly to beauty lighting but instead of having separation from the background the background is also lit evenly.
The goal is to not distract the viewer from actors performance, So for comedy everything is basically evenly lit with soft light.
This is a shot of my fiancee using three 100 watt lights, two soft and one hard light. The window was also used to help add ambient fill light to the room.
This photo was taken on a Sony FS5 with a Canon 24-105mm F/4
Below you will find the overview lighting plot of how I shot this.
Comedy Lighting Plot
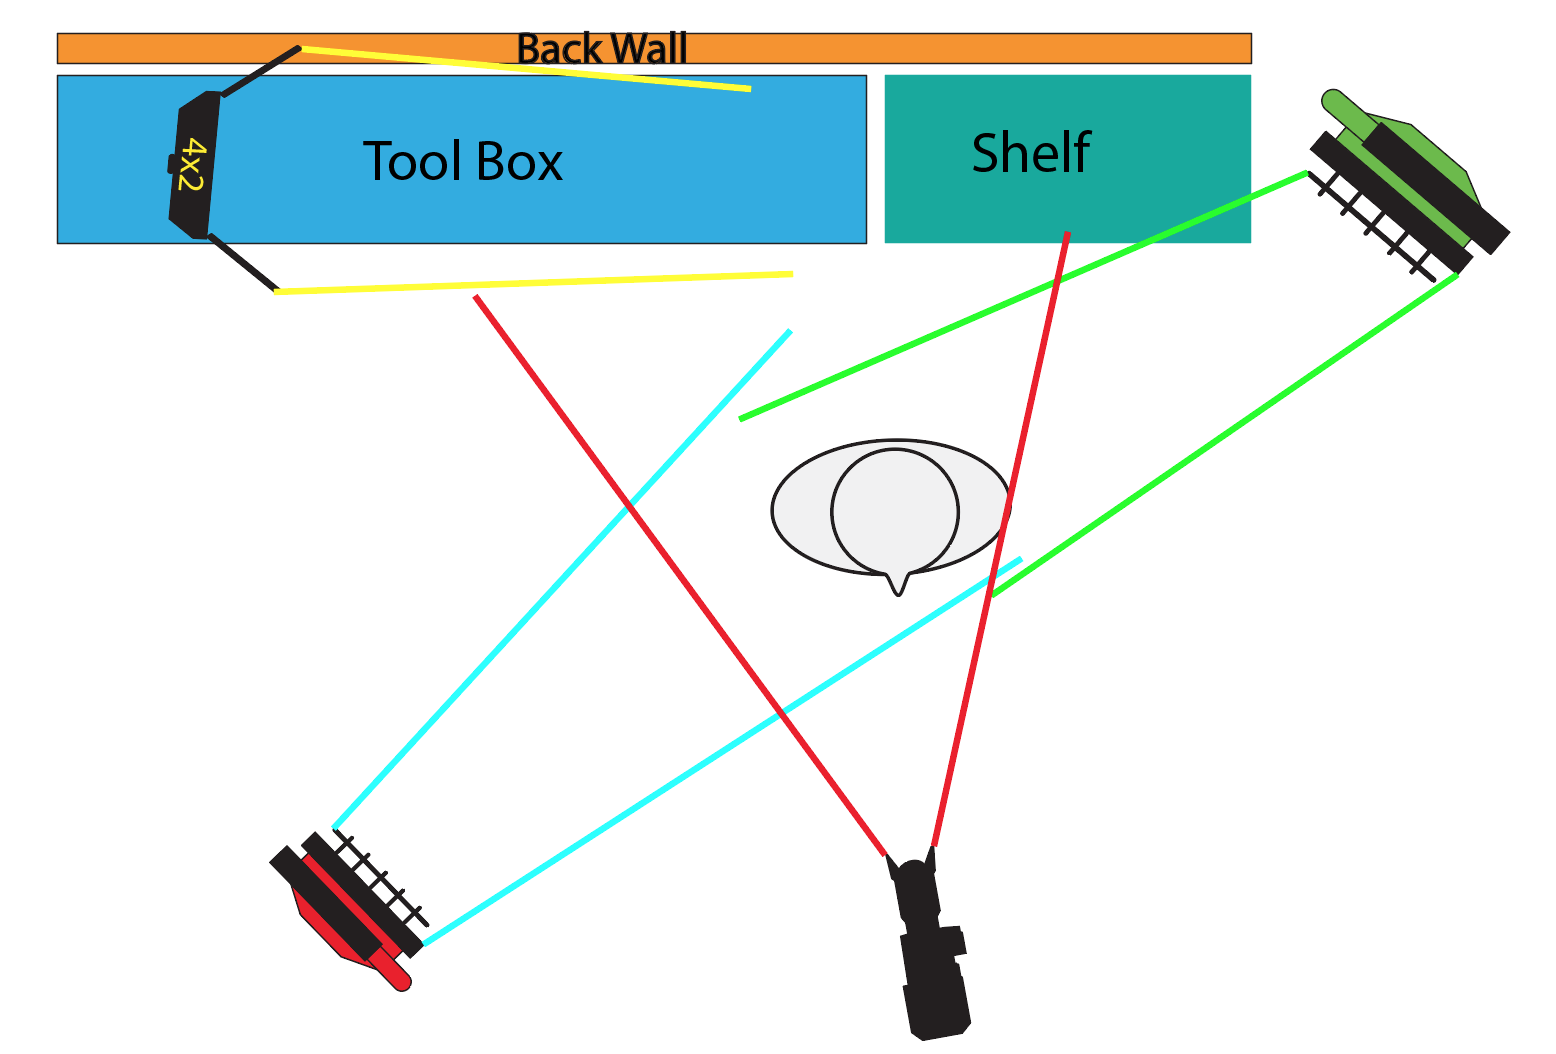
Drama Lighting
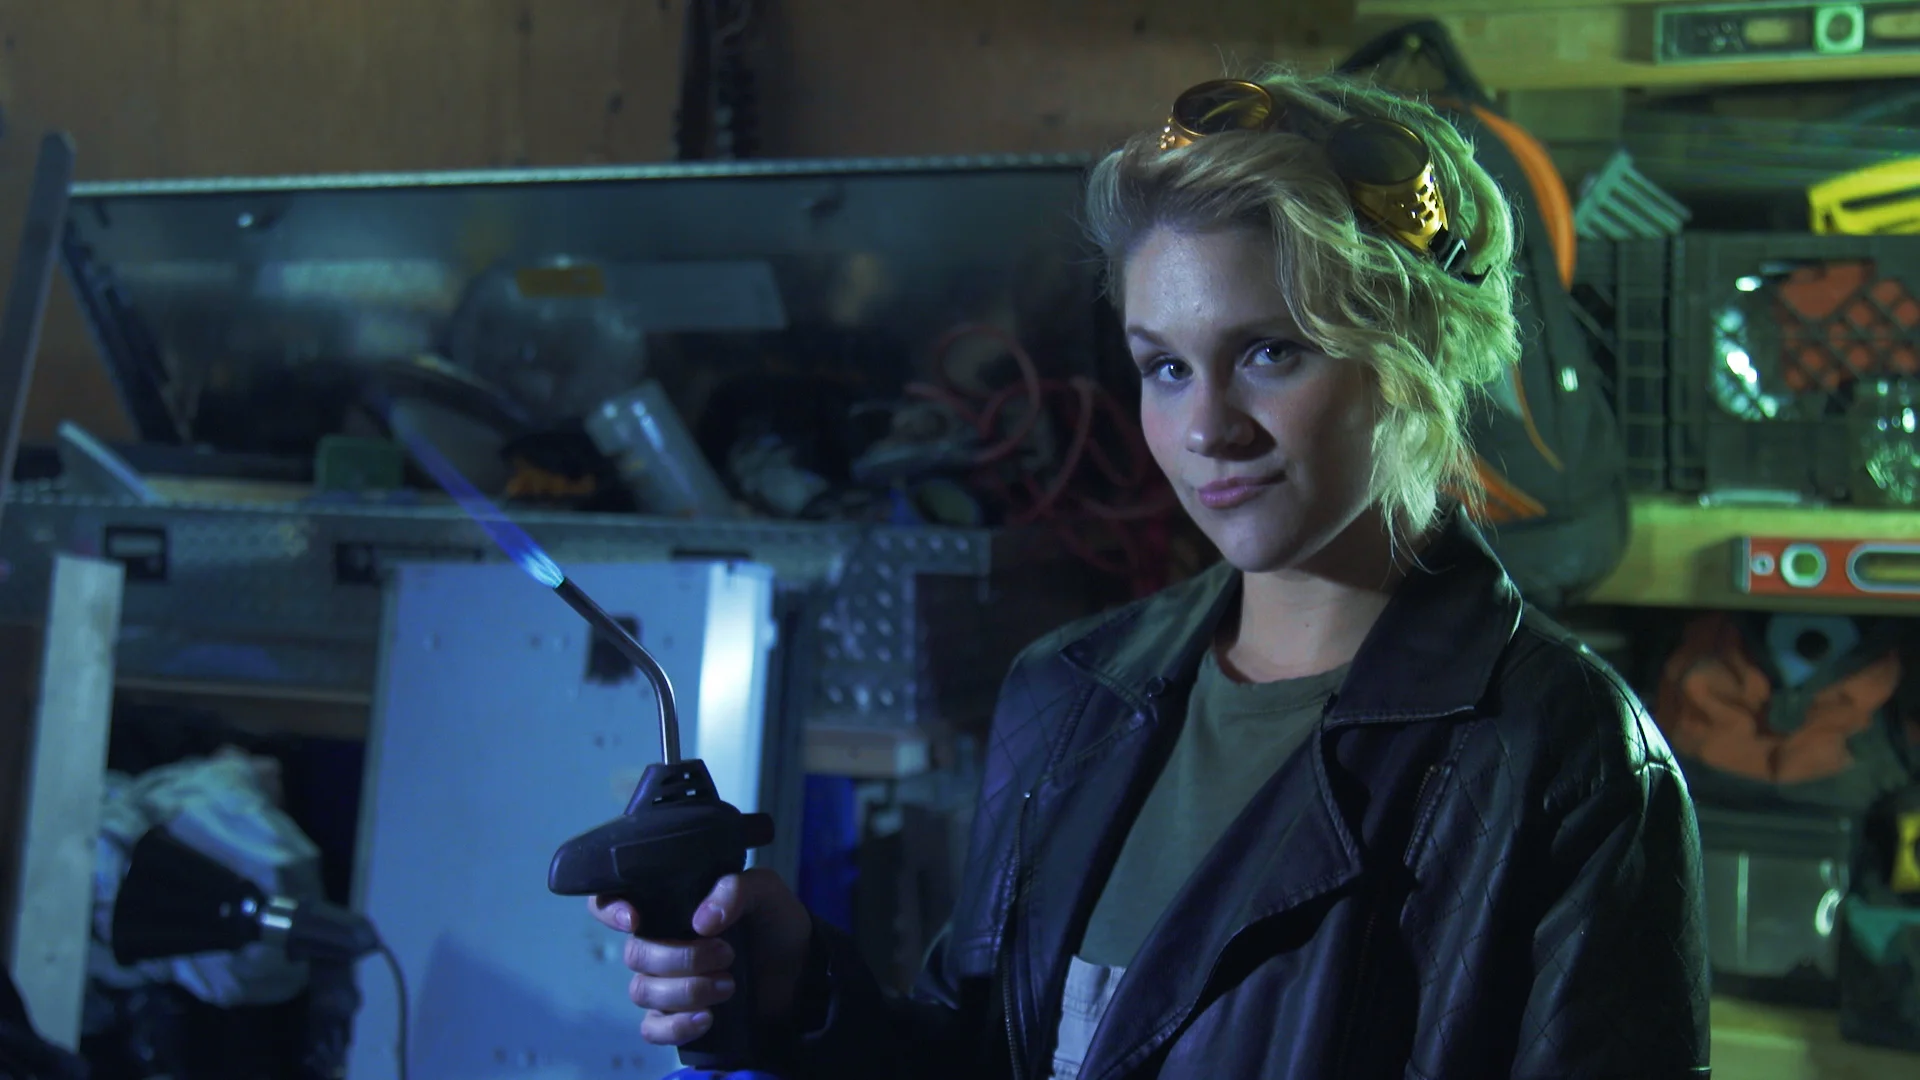
I was really excited to experiment with this style of lighting. The most common rule with drama lighting is that colors are involved in the lighting and contrast and color temp is heavily utilized.
This is a photo of my sister-in-law who has a striking resemblance to Kate Mckinnon and has the costume to match it from last Halloween.
If you couldn't tell I was going for a ghost busters theme.
I had some big plans and ideas for this photo and everything that could go wrong went wrong.
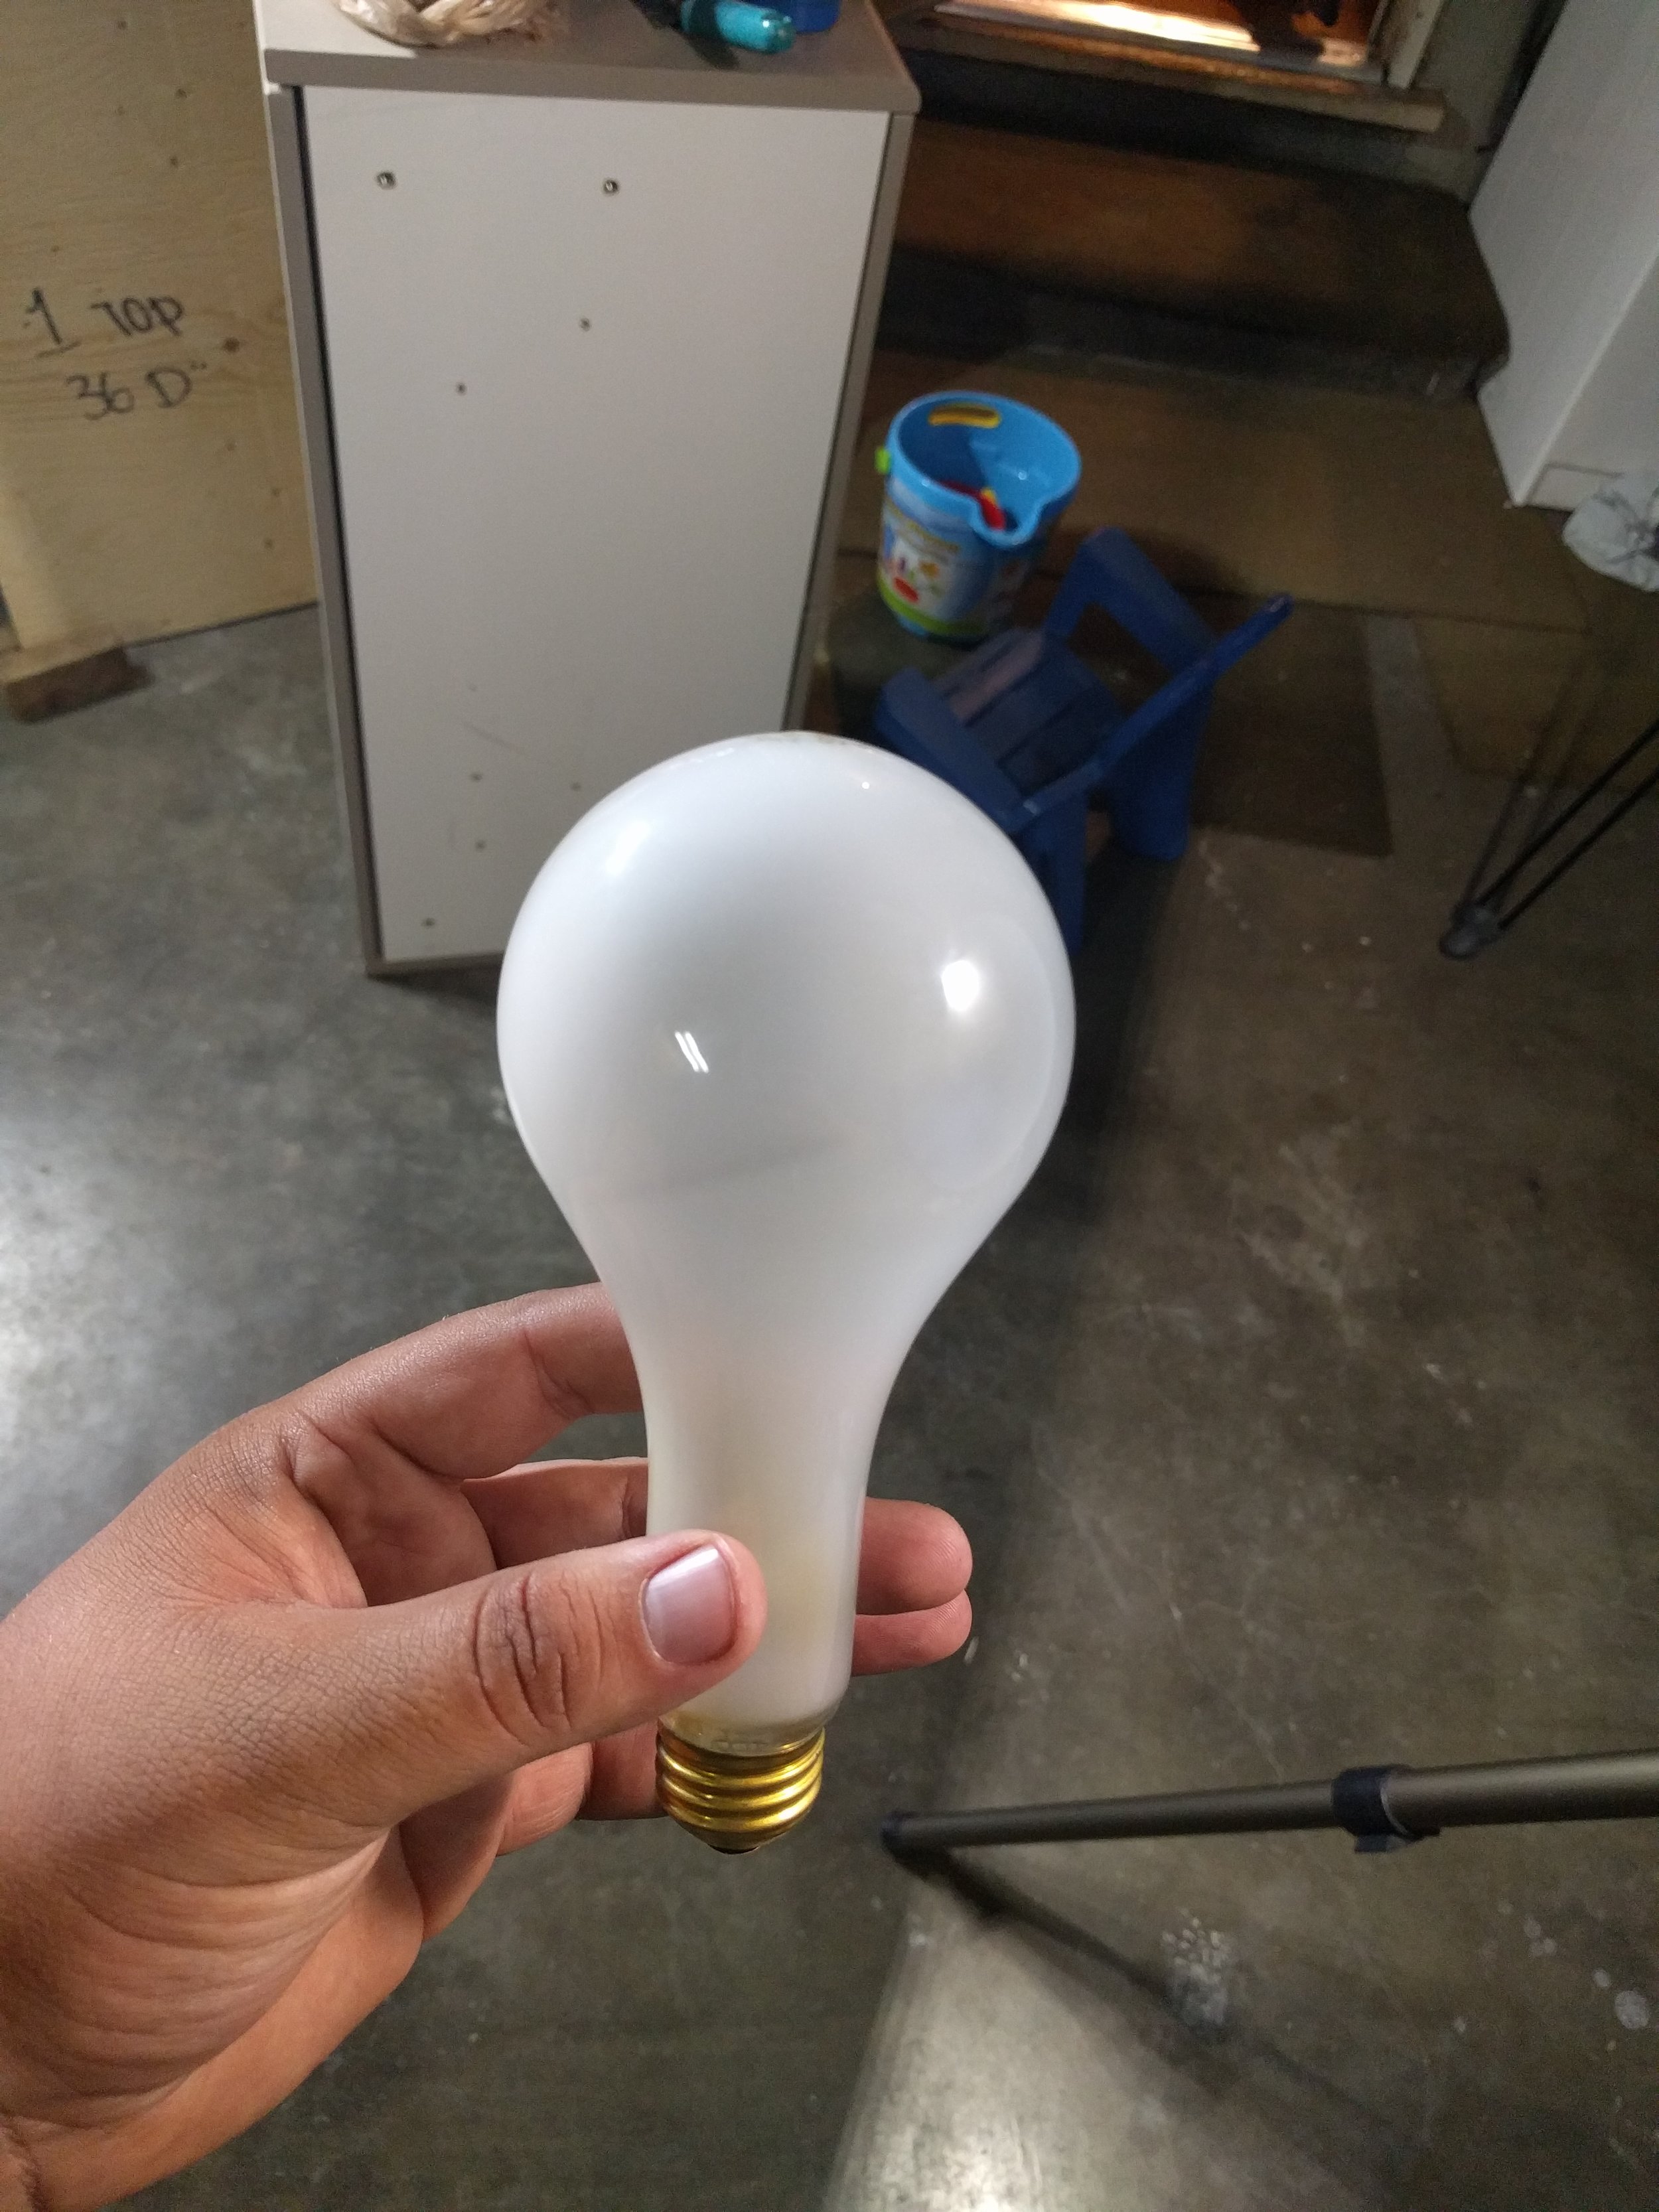
I had two 500 watt bulbs blow out on me right then and there and that was the first time I used one of the bulbs.
I also forgot to bring my colored gels, so I really had to improvise on this one.
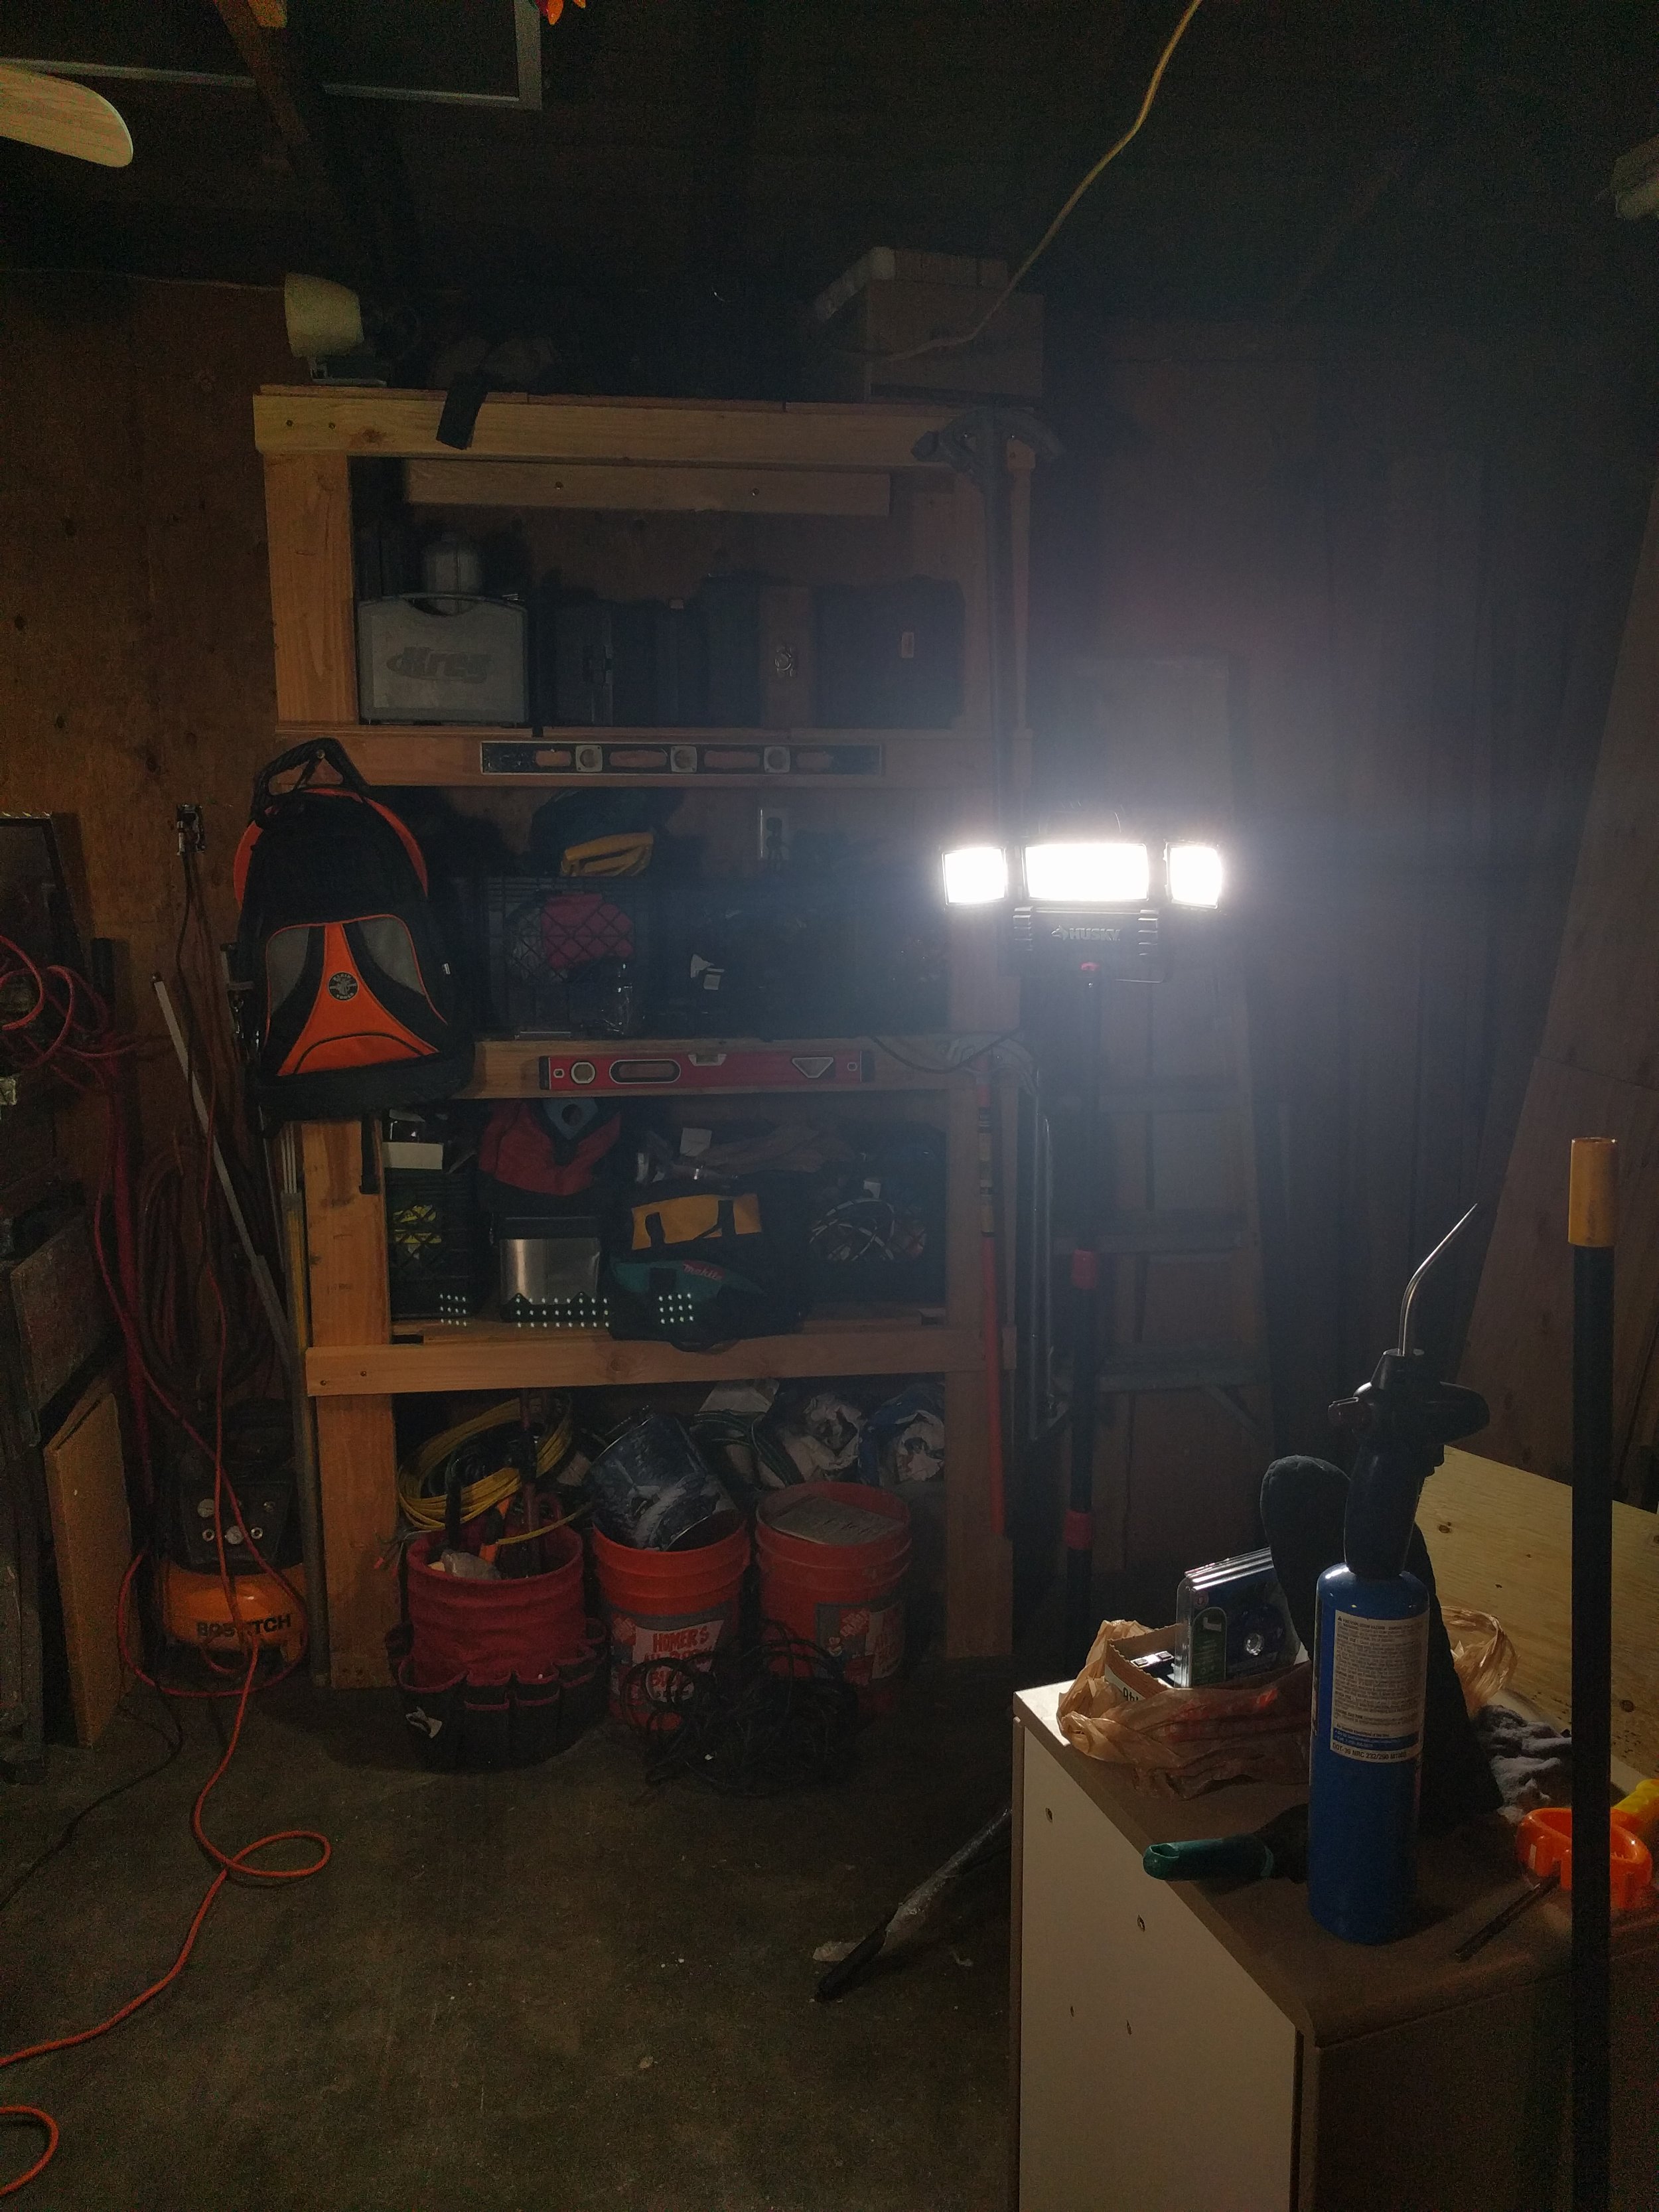
This was at my brothers house and he is an electrician, so he happened to have some LED work lights.
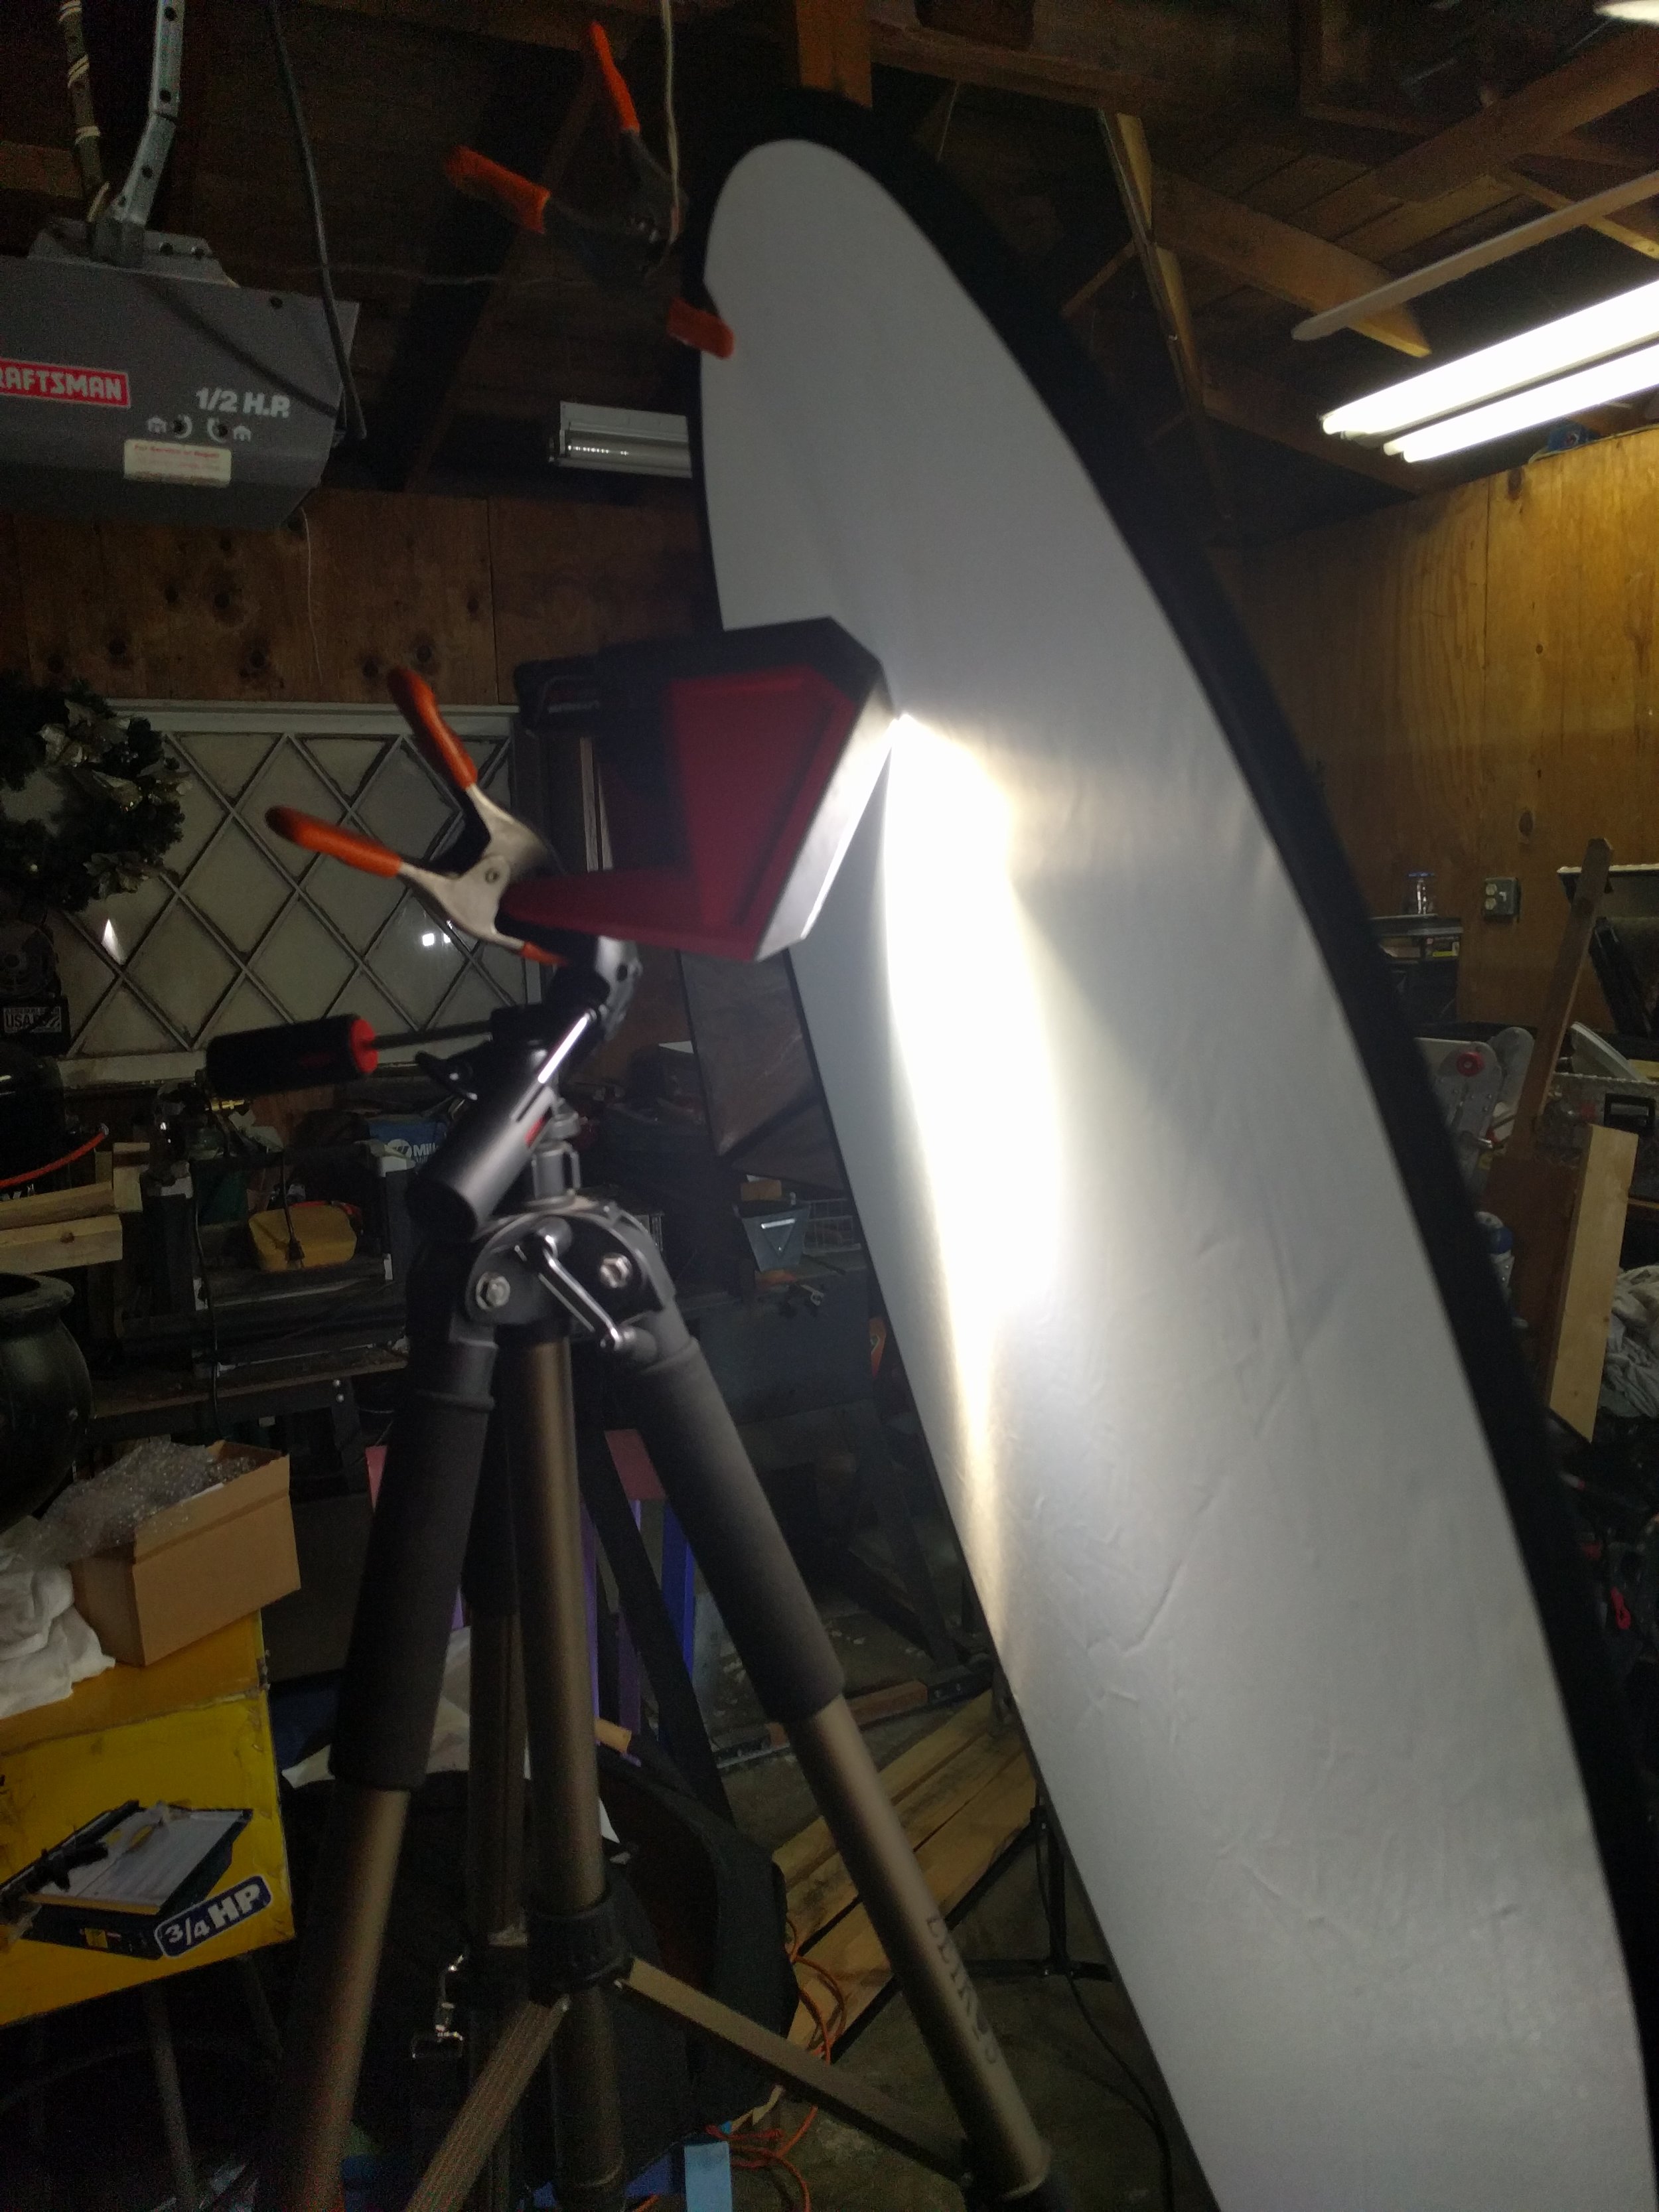
I made do with what I had. I clamped a portable LED light to a spare tripod and added a defuser to it.
For the back light I just used the bare work light.
I was still missing the colored gels, so I edited the colors in post for the effect I wanted.
This photo was taken on a Sony FS5 with a Canon 24-105mm F/4
Below you will find the overview lighting plot of how I shot this.
Suspense Lighting
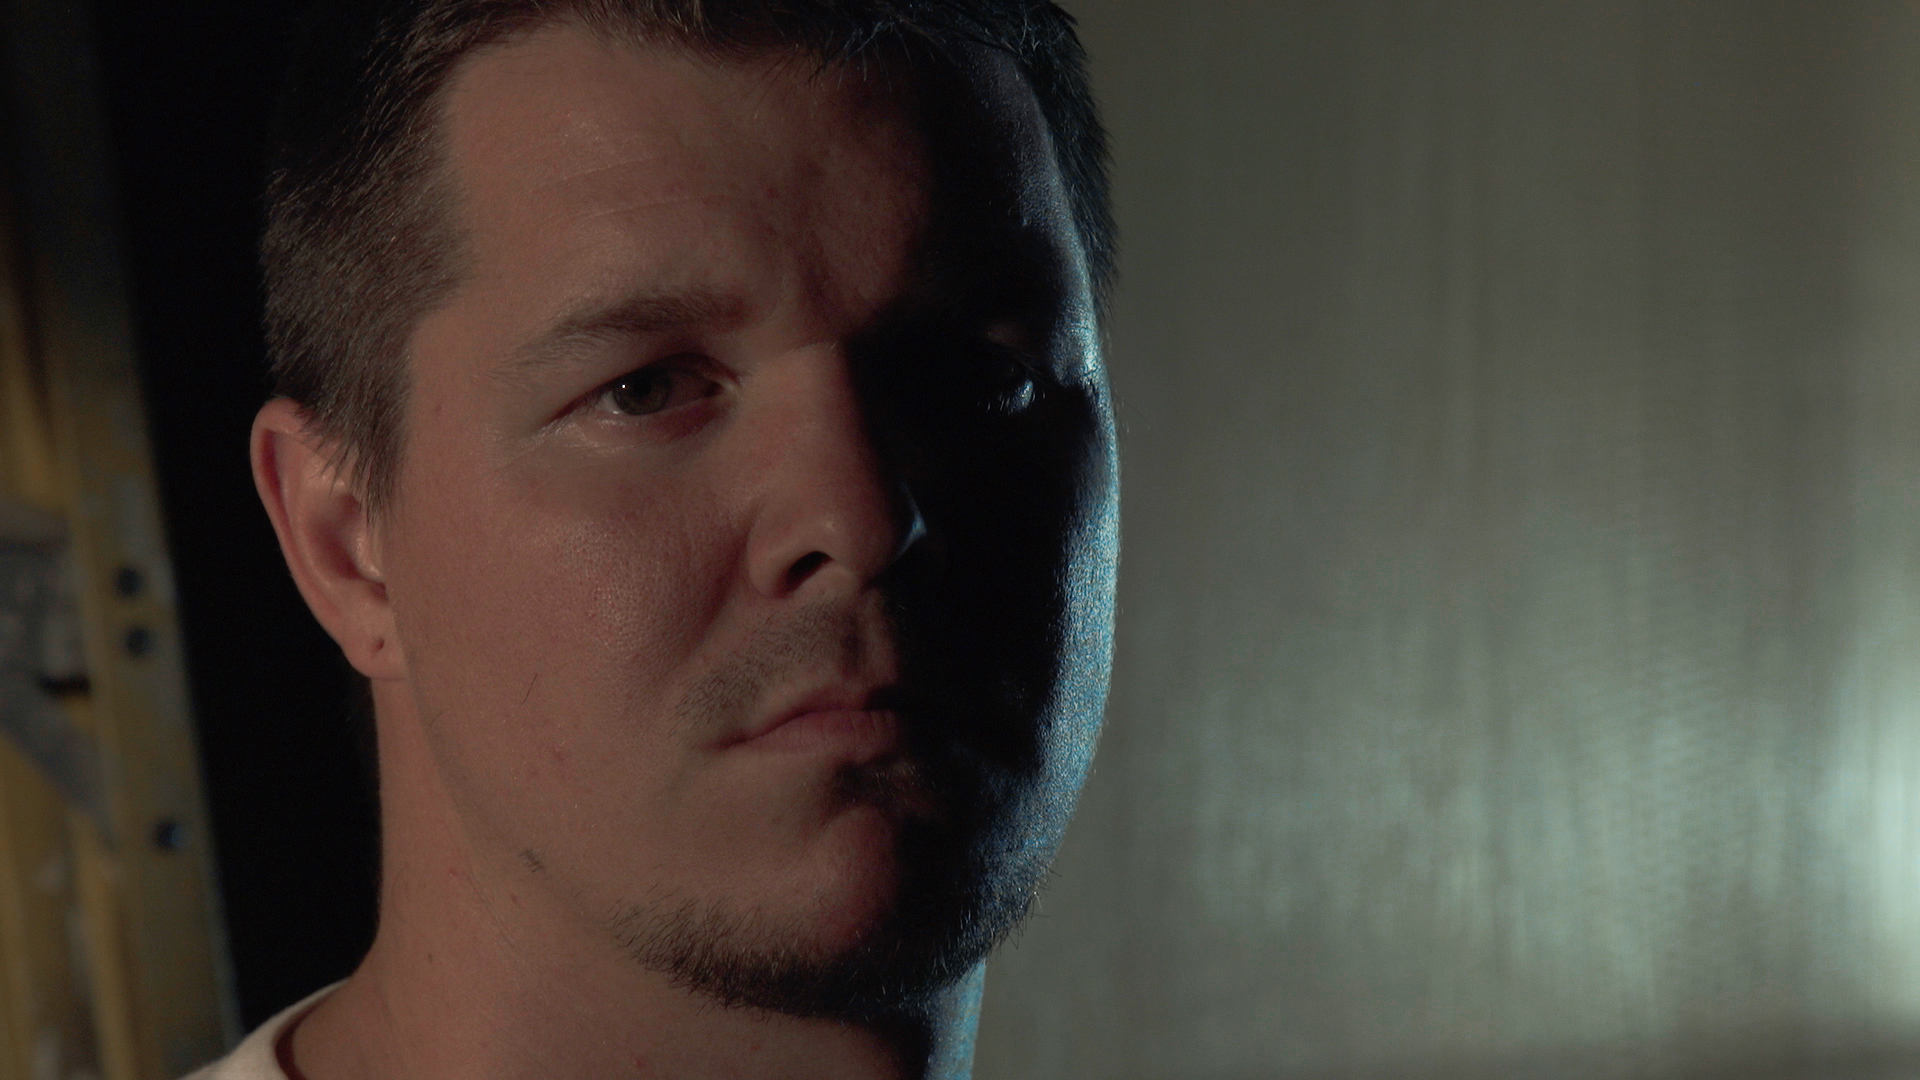
Suspense lighting has to be my favorite style of lighting to play with. It's very loose on rules and you can be very creative with it.
Suspenseful lighting uses lots of harsh strong shadows and a high contrast ratio to withhold visual information and add interest.
This style of lighting is commonly used to distort the facial features and make them inhuman.
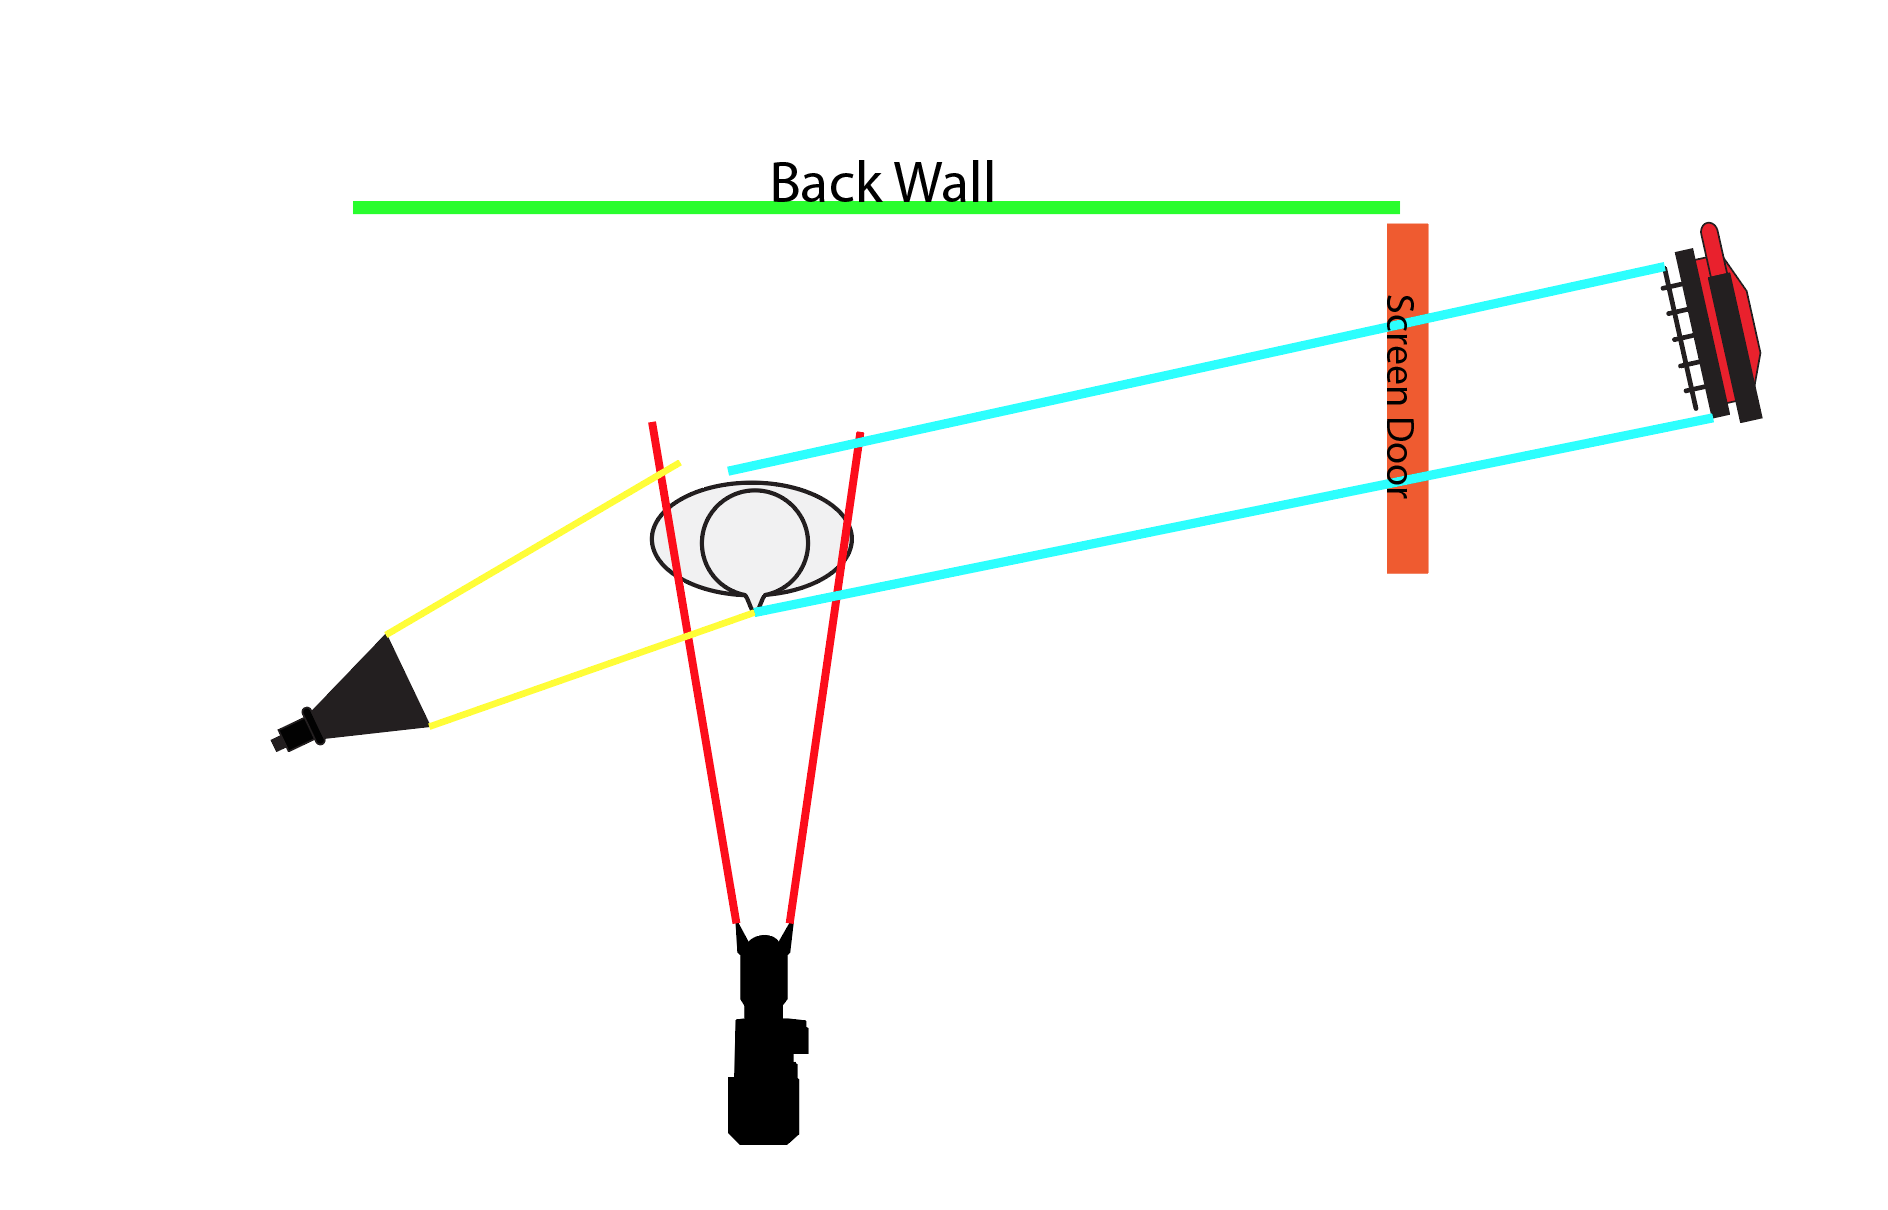
This is a shot of my brother and is pretty simply shot with 2 lights.
One LED work light shooting an edge light and a 100 watt hard light as a key light as well as giving him a catch light in his eye.
This photo was taken on a Sony FS5 with a Canon 24-105mm F/4
Below you will find the overview lighting plot of how I shot this.
This project has been tons of fun and I am already thinking of how to incorporate this new knowledge in my work.
I absolutely feel myself working with more drama and suspense scenes, just because of how much creativity you have with it.
Leave a comment below and let me know what you think!


